Replacing cable - Ersa RDS80
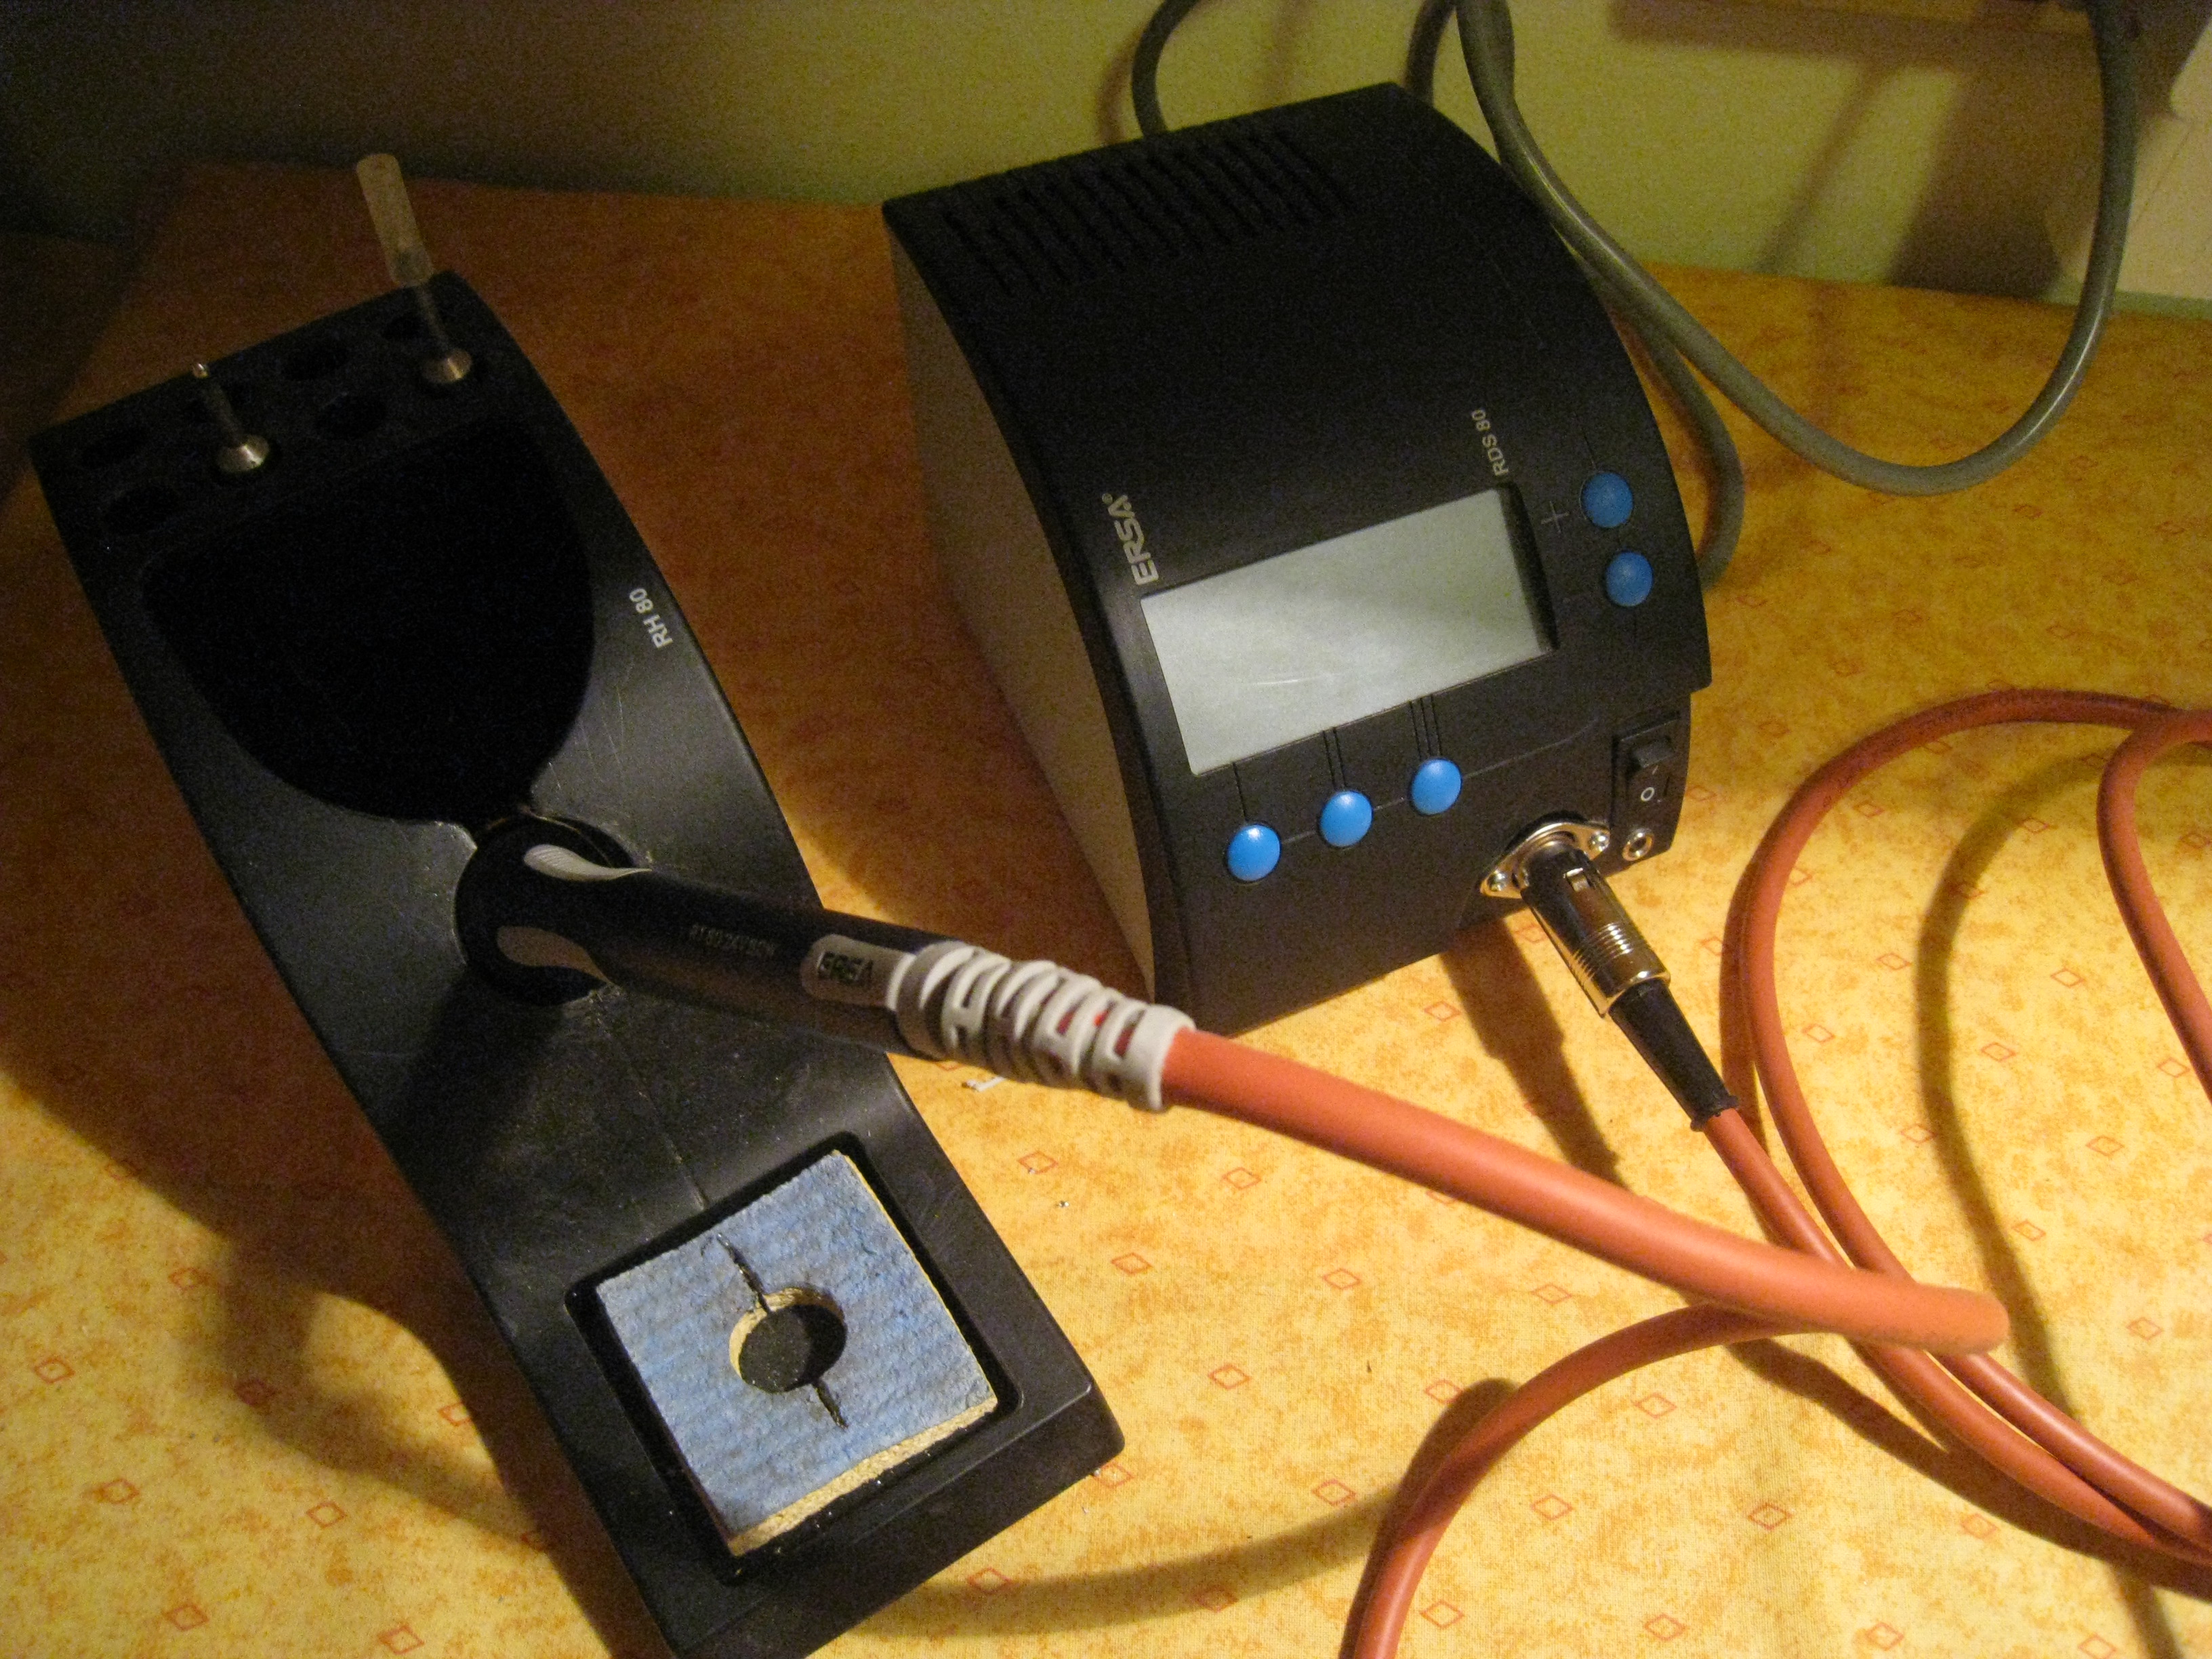
 Ersa RDS80 is a great soldering station for hobby use, that offers a lot for an affordable price. But it has one weakness - an unappropriate cable for the soldering iron. It is neither heat resistant nor flexible. After using the soldering station for two years, I decided it was time to change the cable.
Although the connector on the soldering station has 4 contacts, only 3 of them are used and the cable has three wires. So I bought a silicon cable in Conrad (nr. 604365) and started with the repair.
The soldering iron itself can not be taken apart, so I just cut the old cable and soldered the new one. On the station’s side is a standard DIN-4 connector. Because my local supplier did not have that connector I used DIN-3 connector and replaced the socket as well.
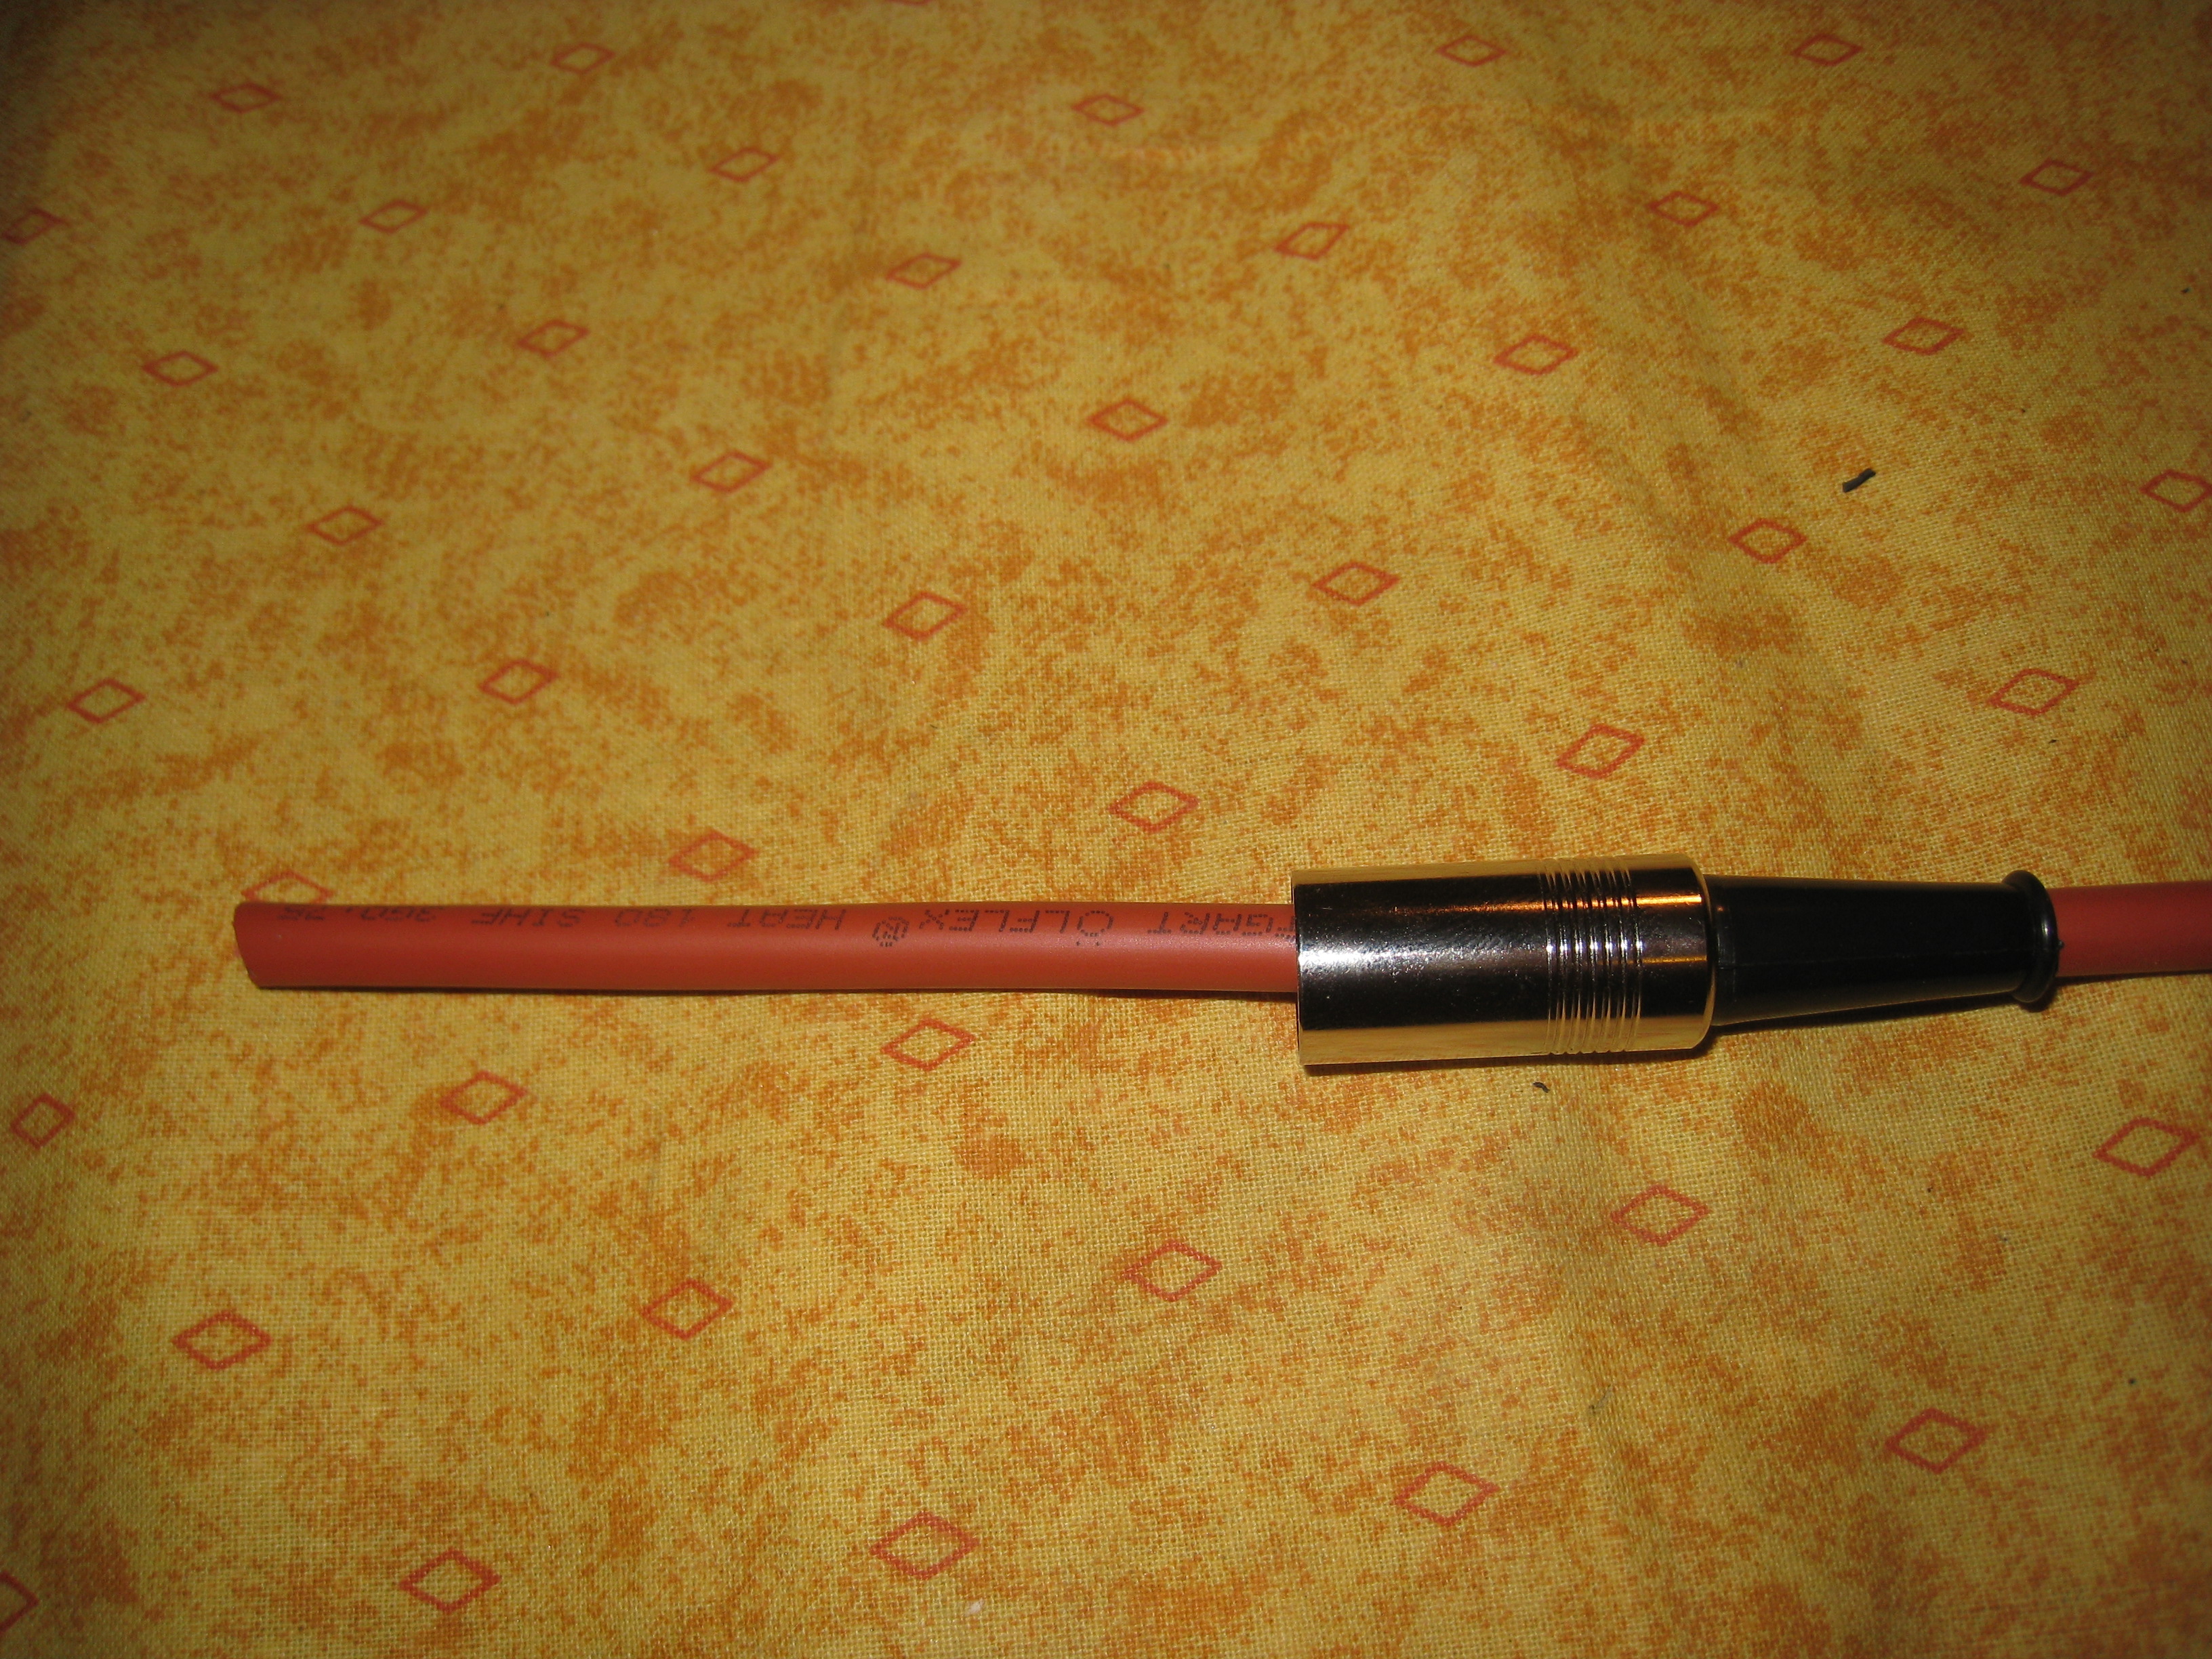
First we mount the DIN connector on the cable. We put the case of connector on the cable:
We solder the cable on the connector (if you are going to use DIN-4 connector, you have to make sure you use the right pins):
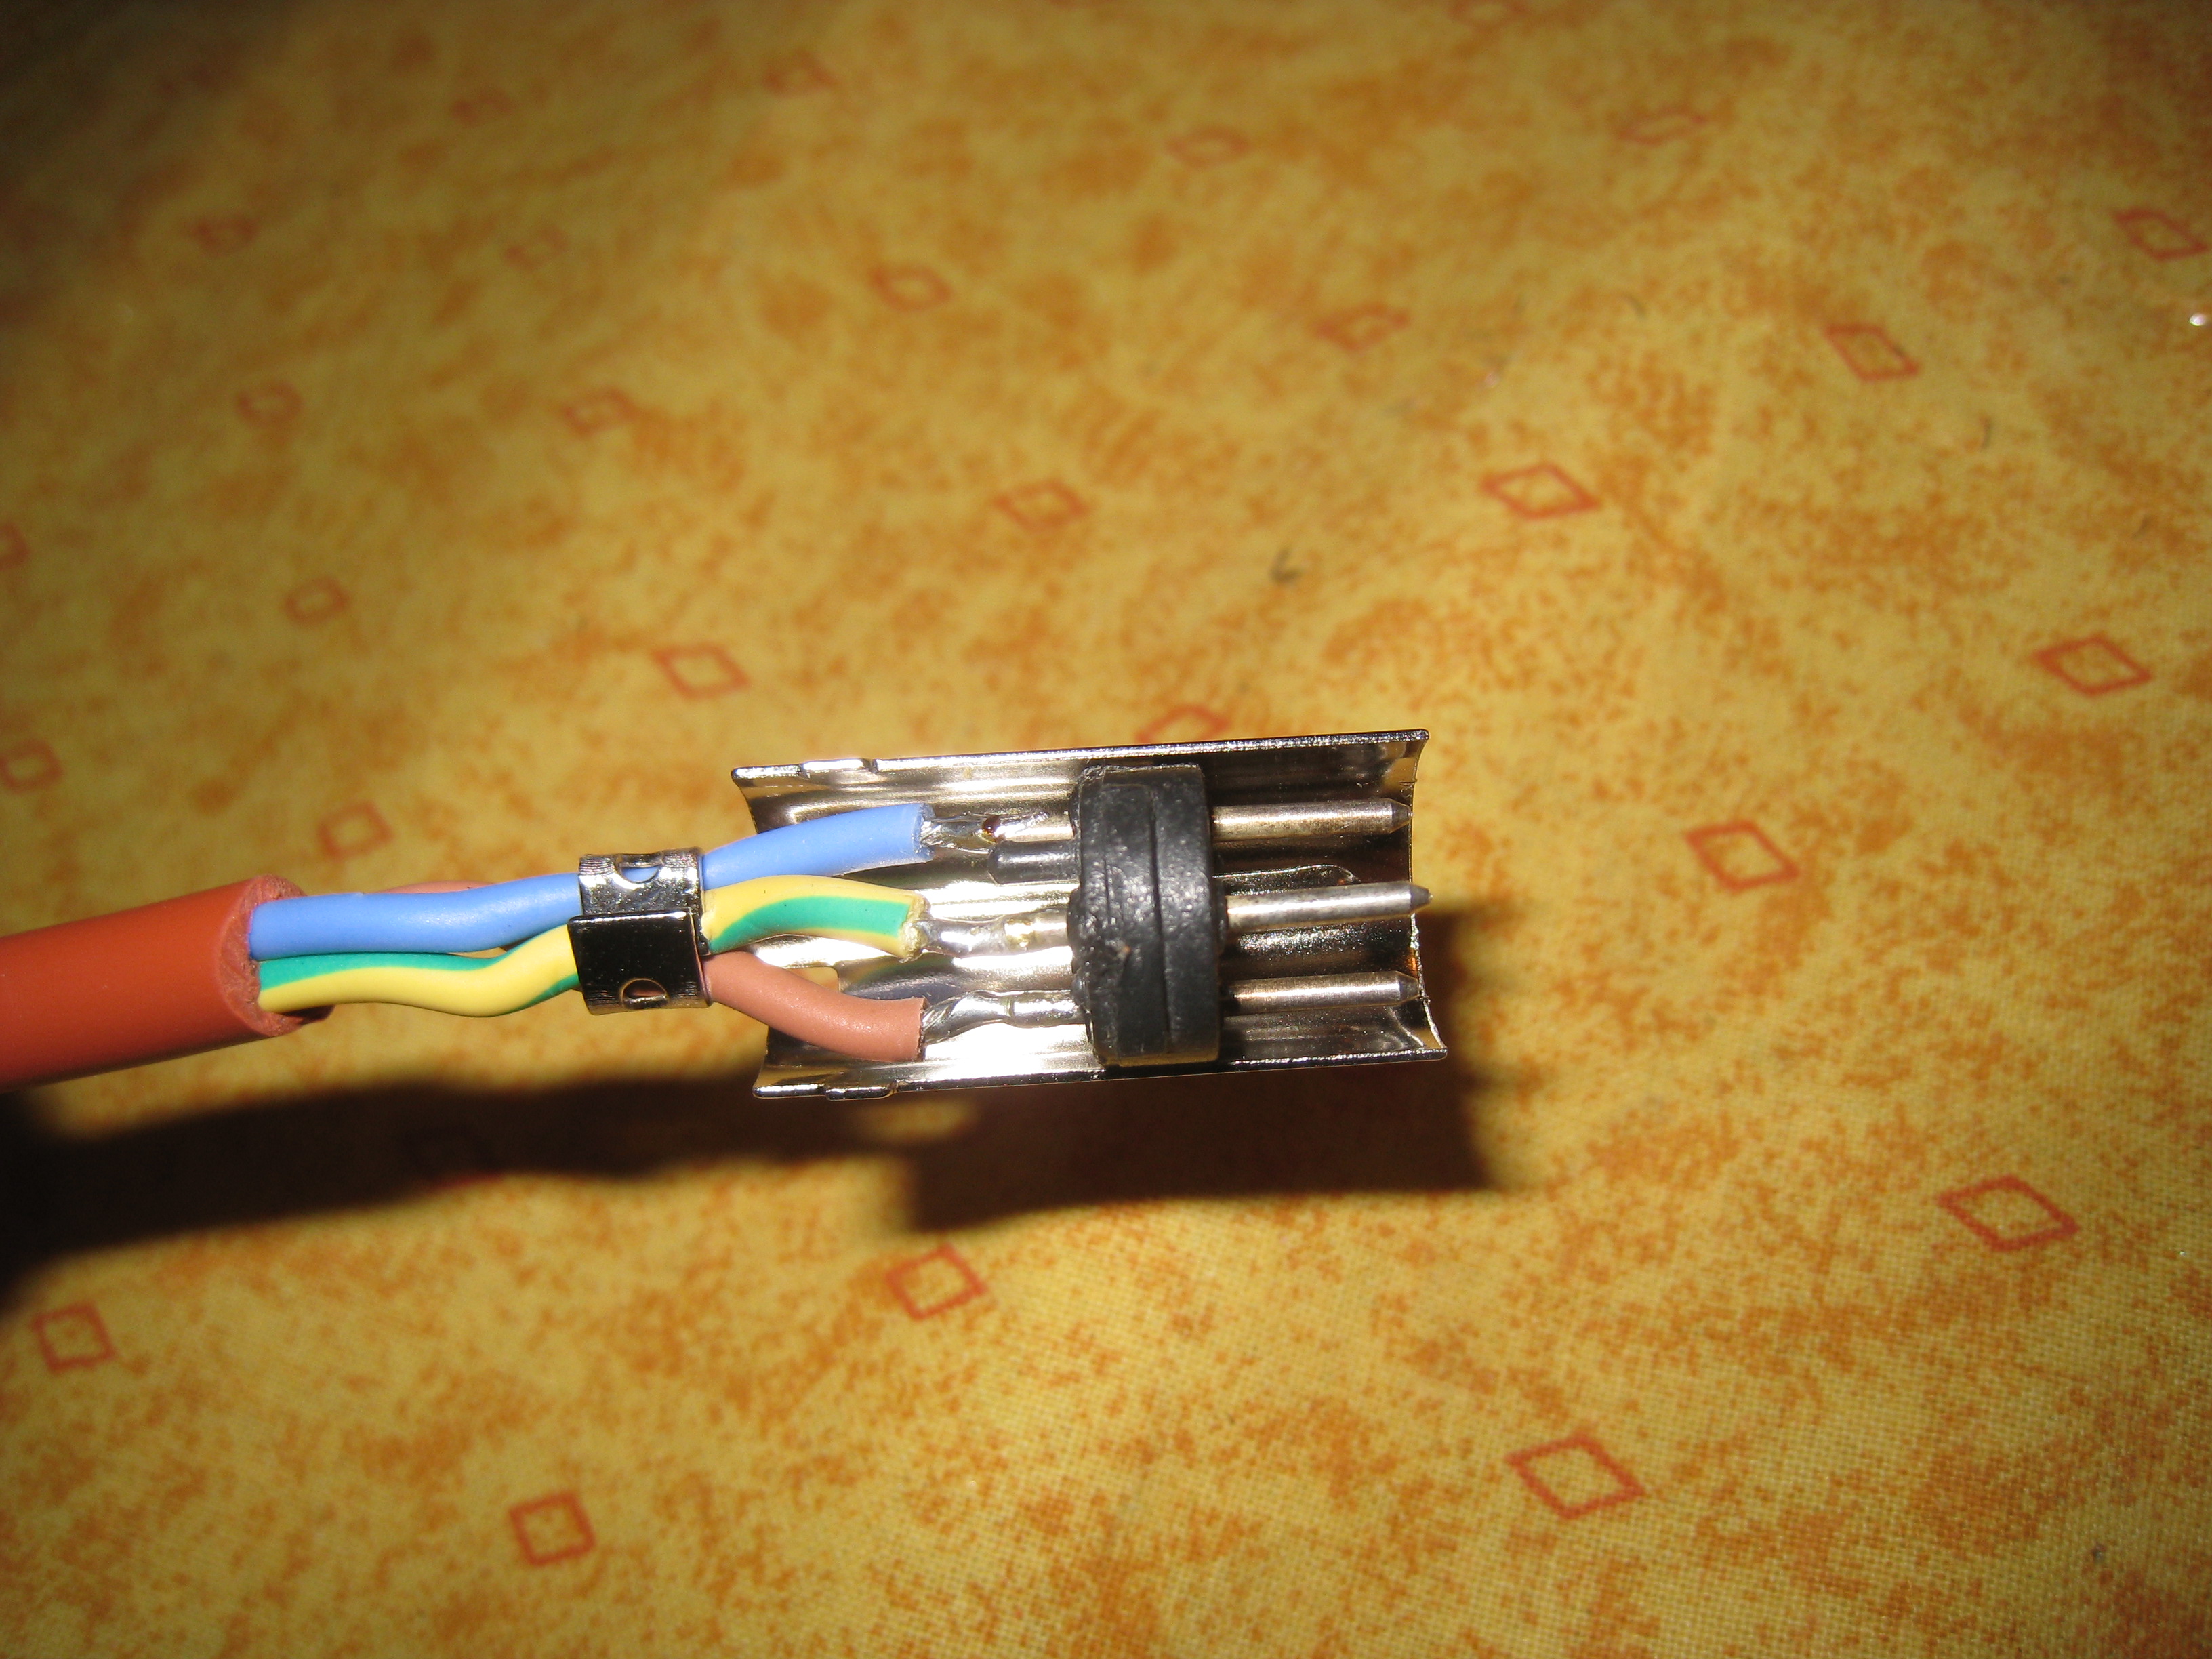
Mounted connector:

Now for the hard part. First make sure you have a secondary soldering iron, that you are going to use to solder the cable on ERSA soldering iron. \
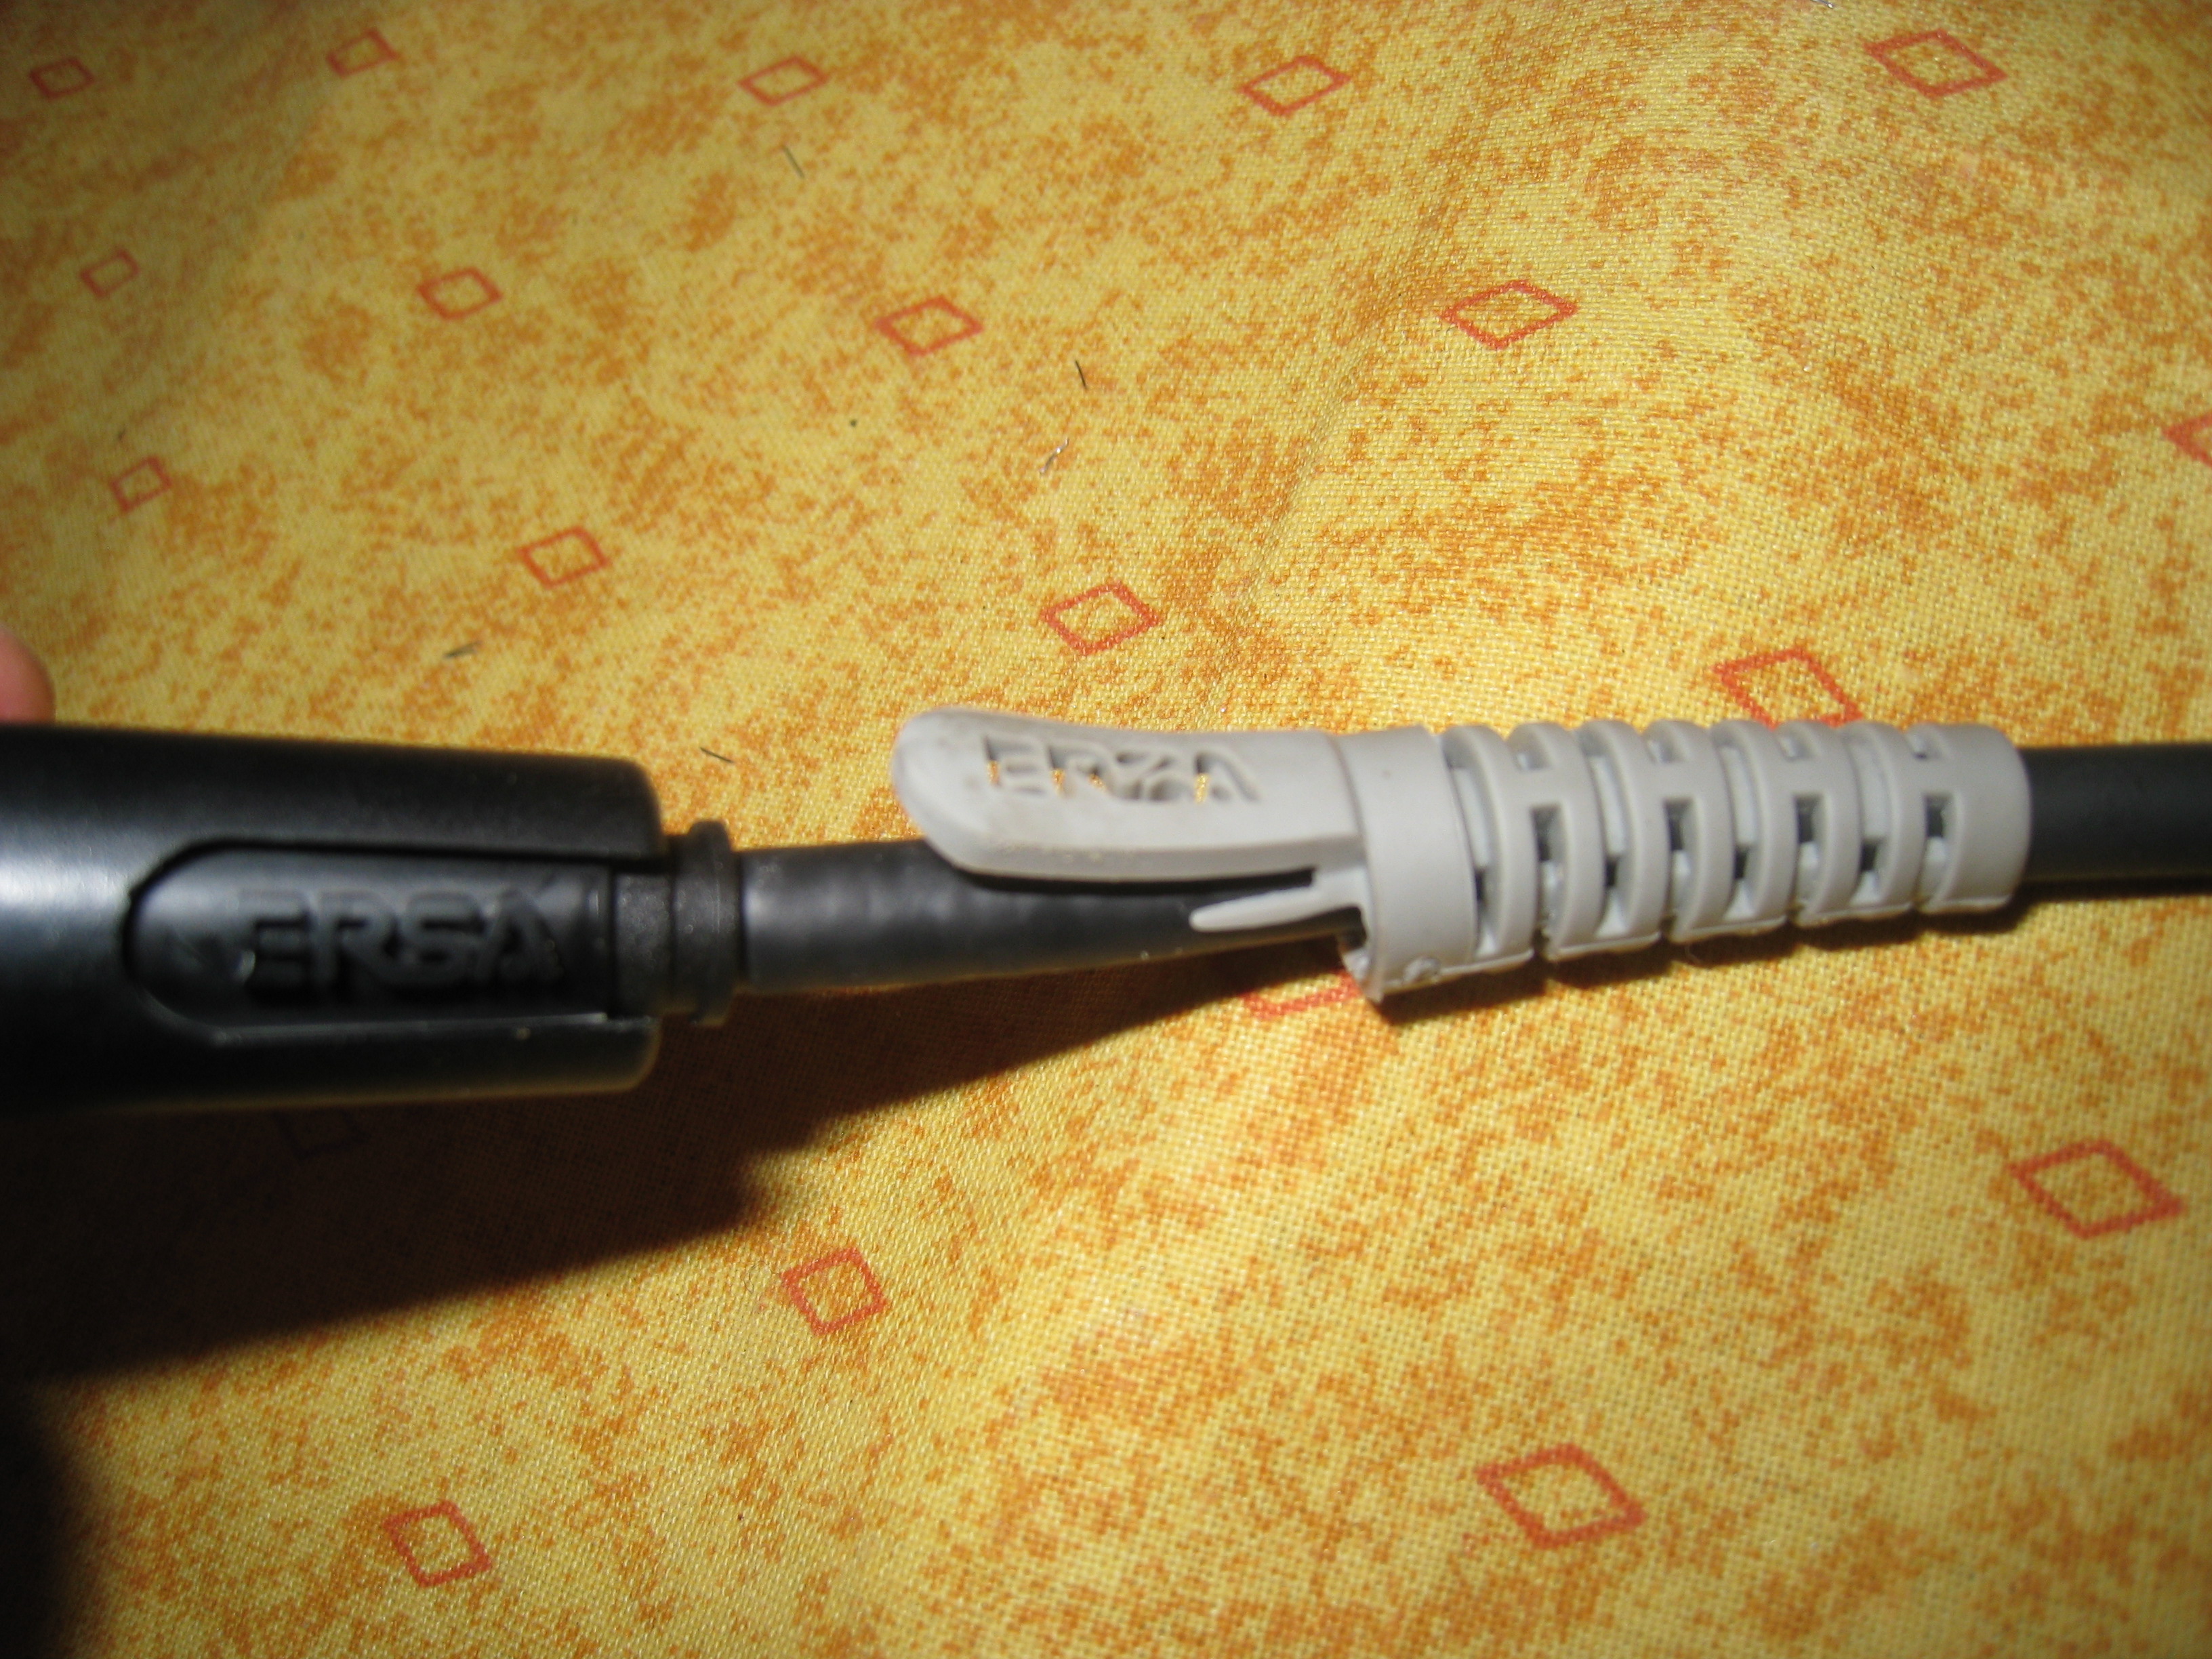
First remove the cable protection from the soldering iron:
Cut the cable and remove the insulation:
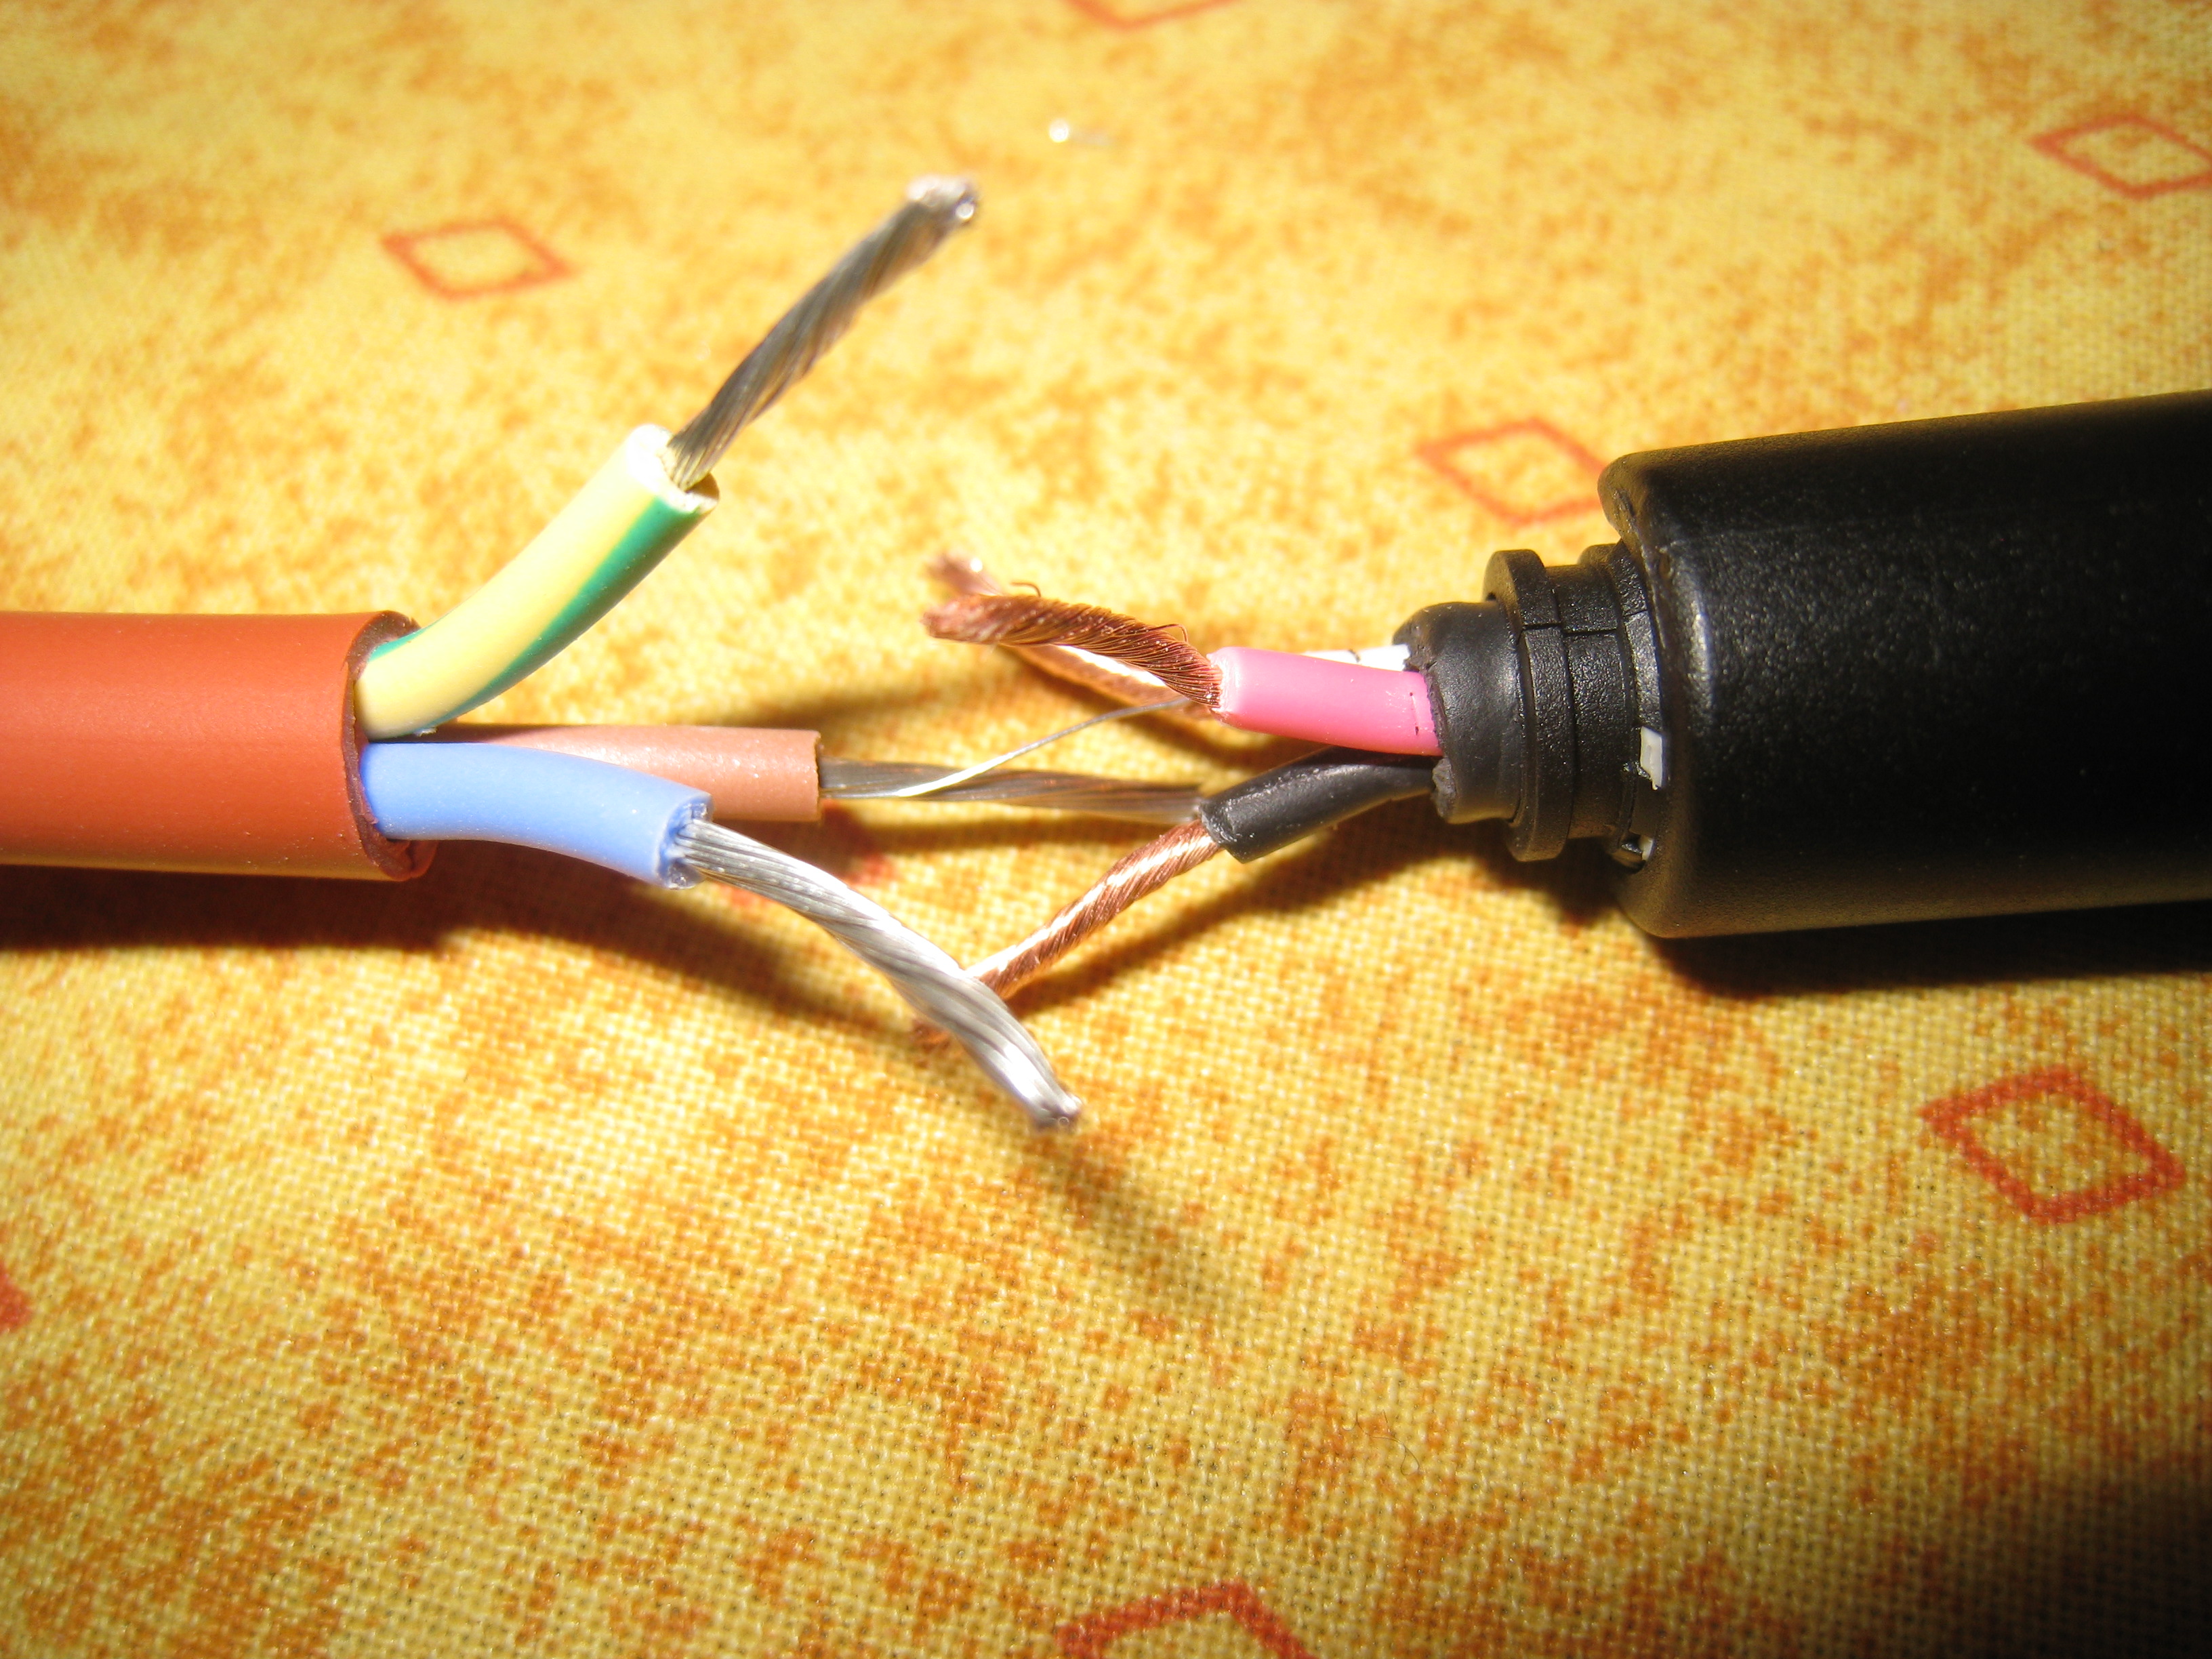
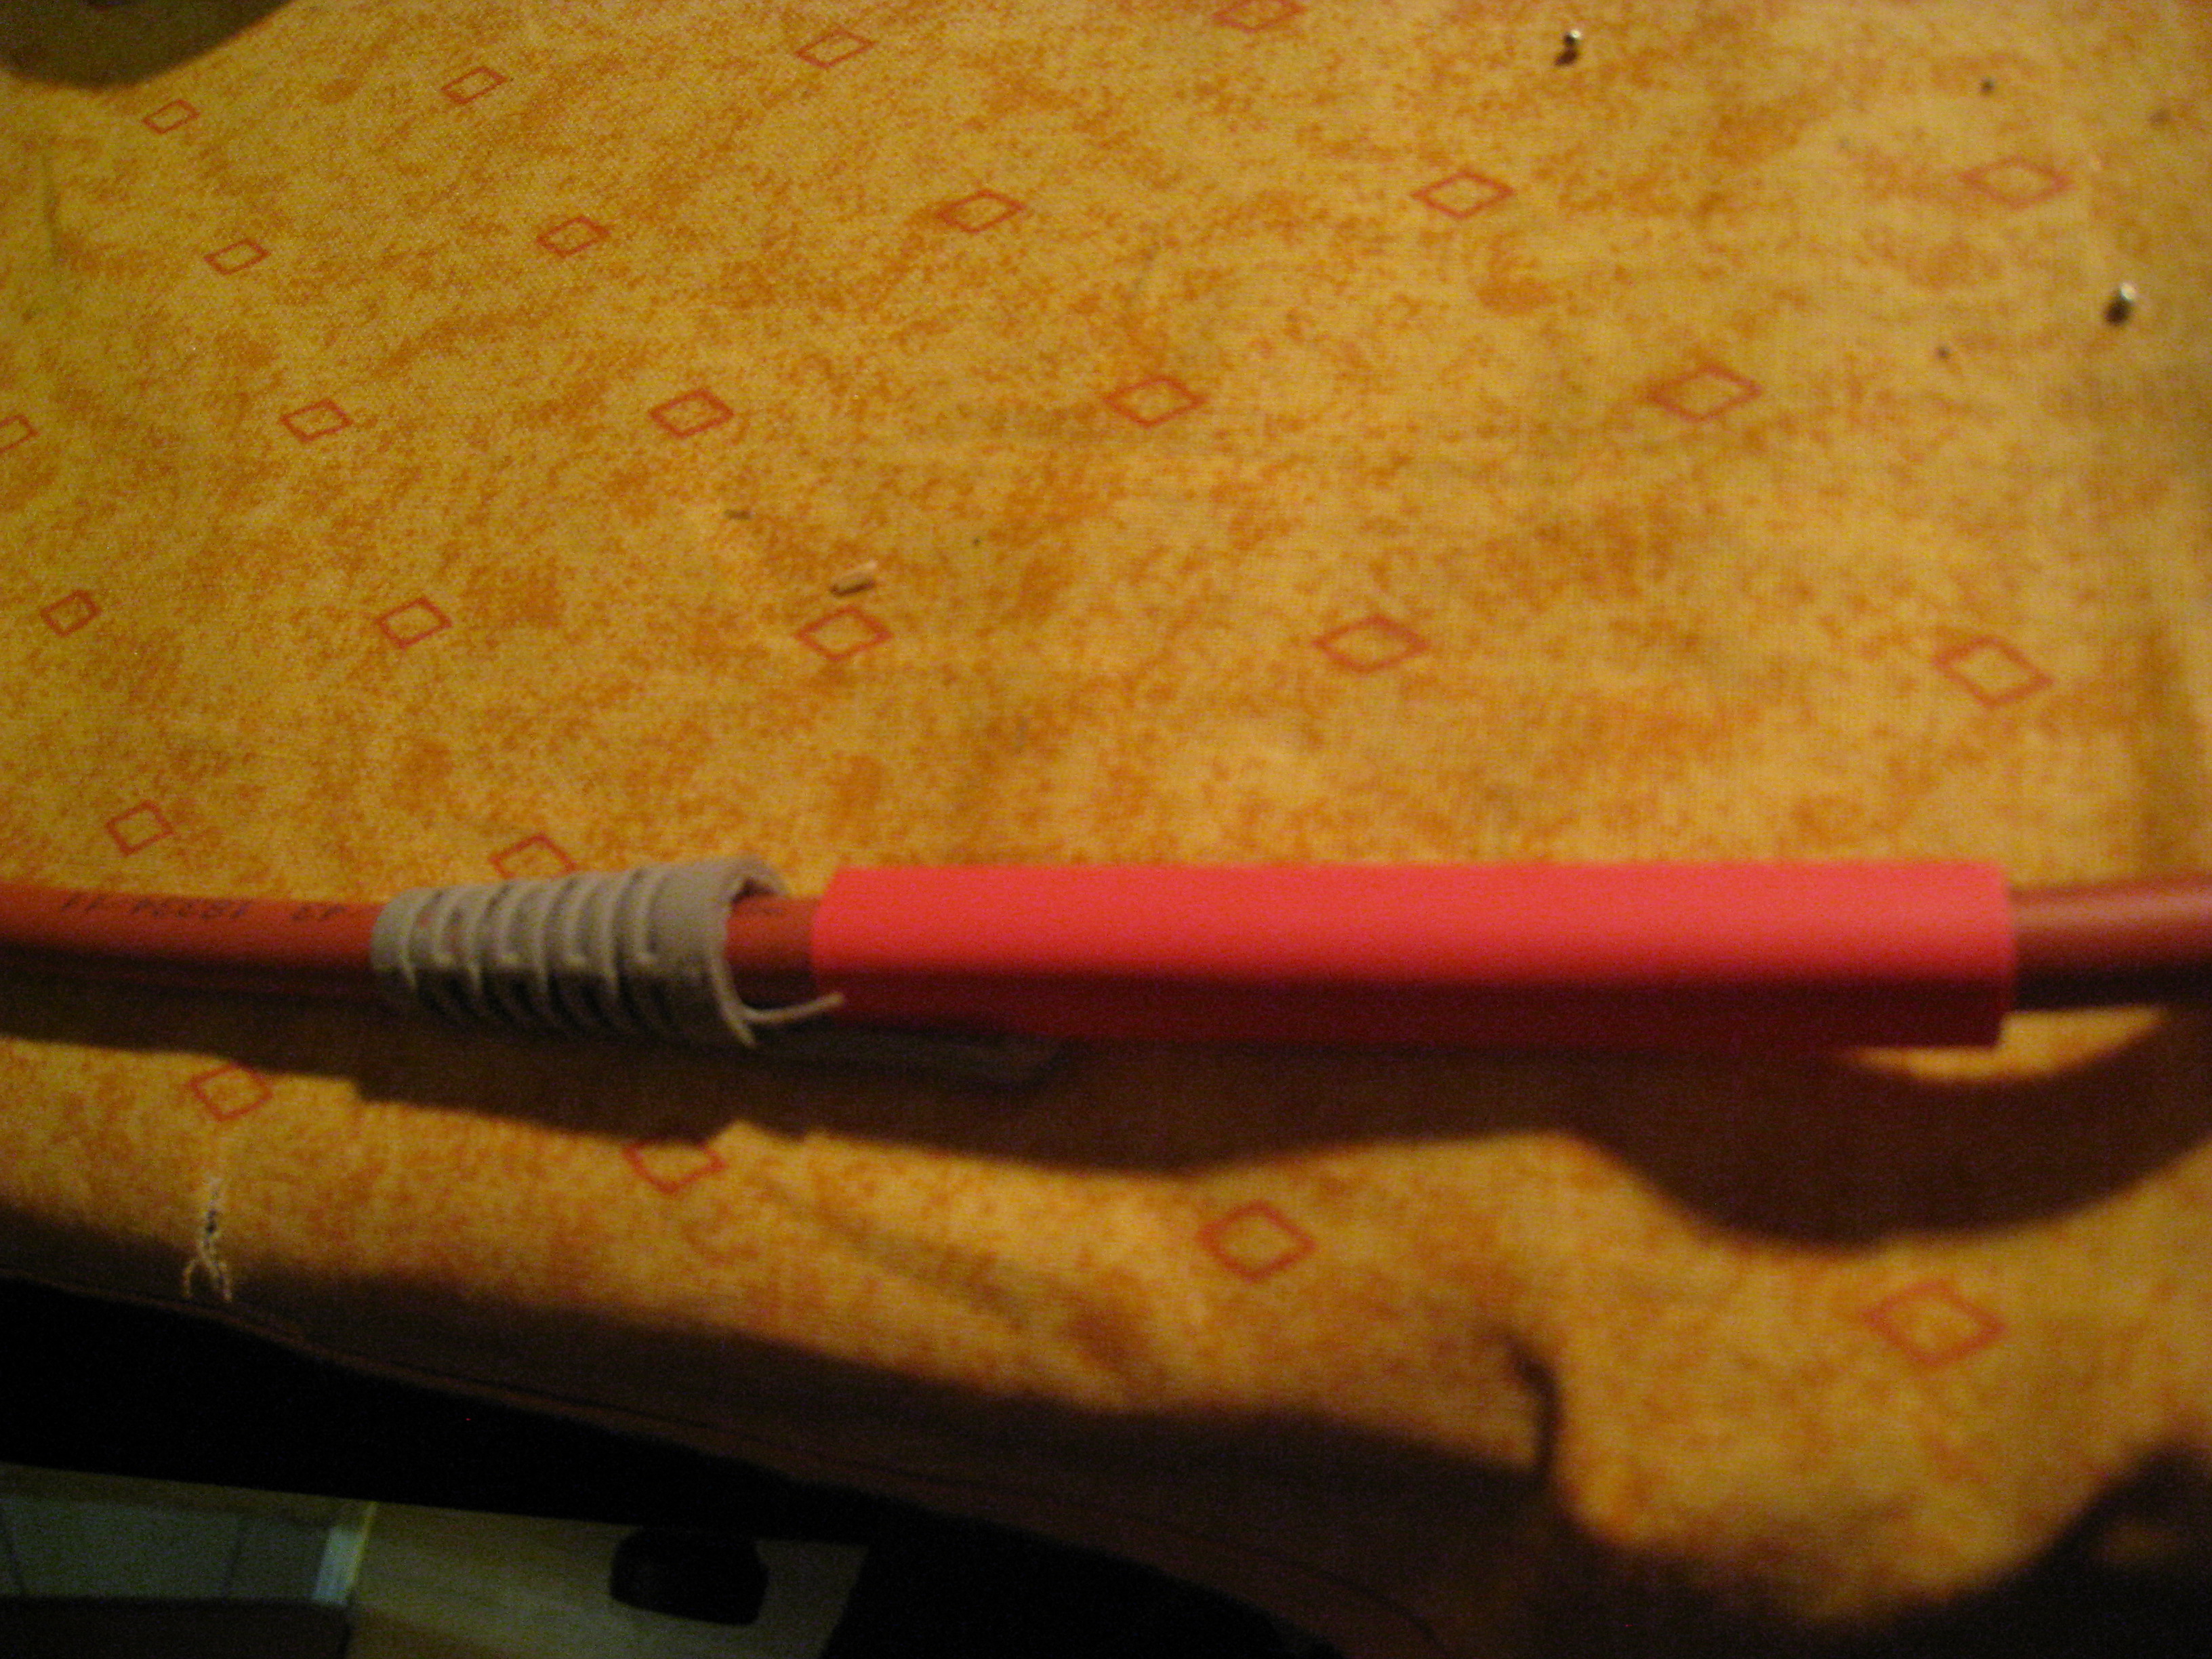
Put the cable protection on the new cable, I also used some heat-shrink tube:
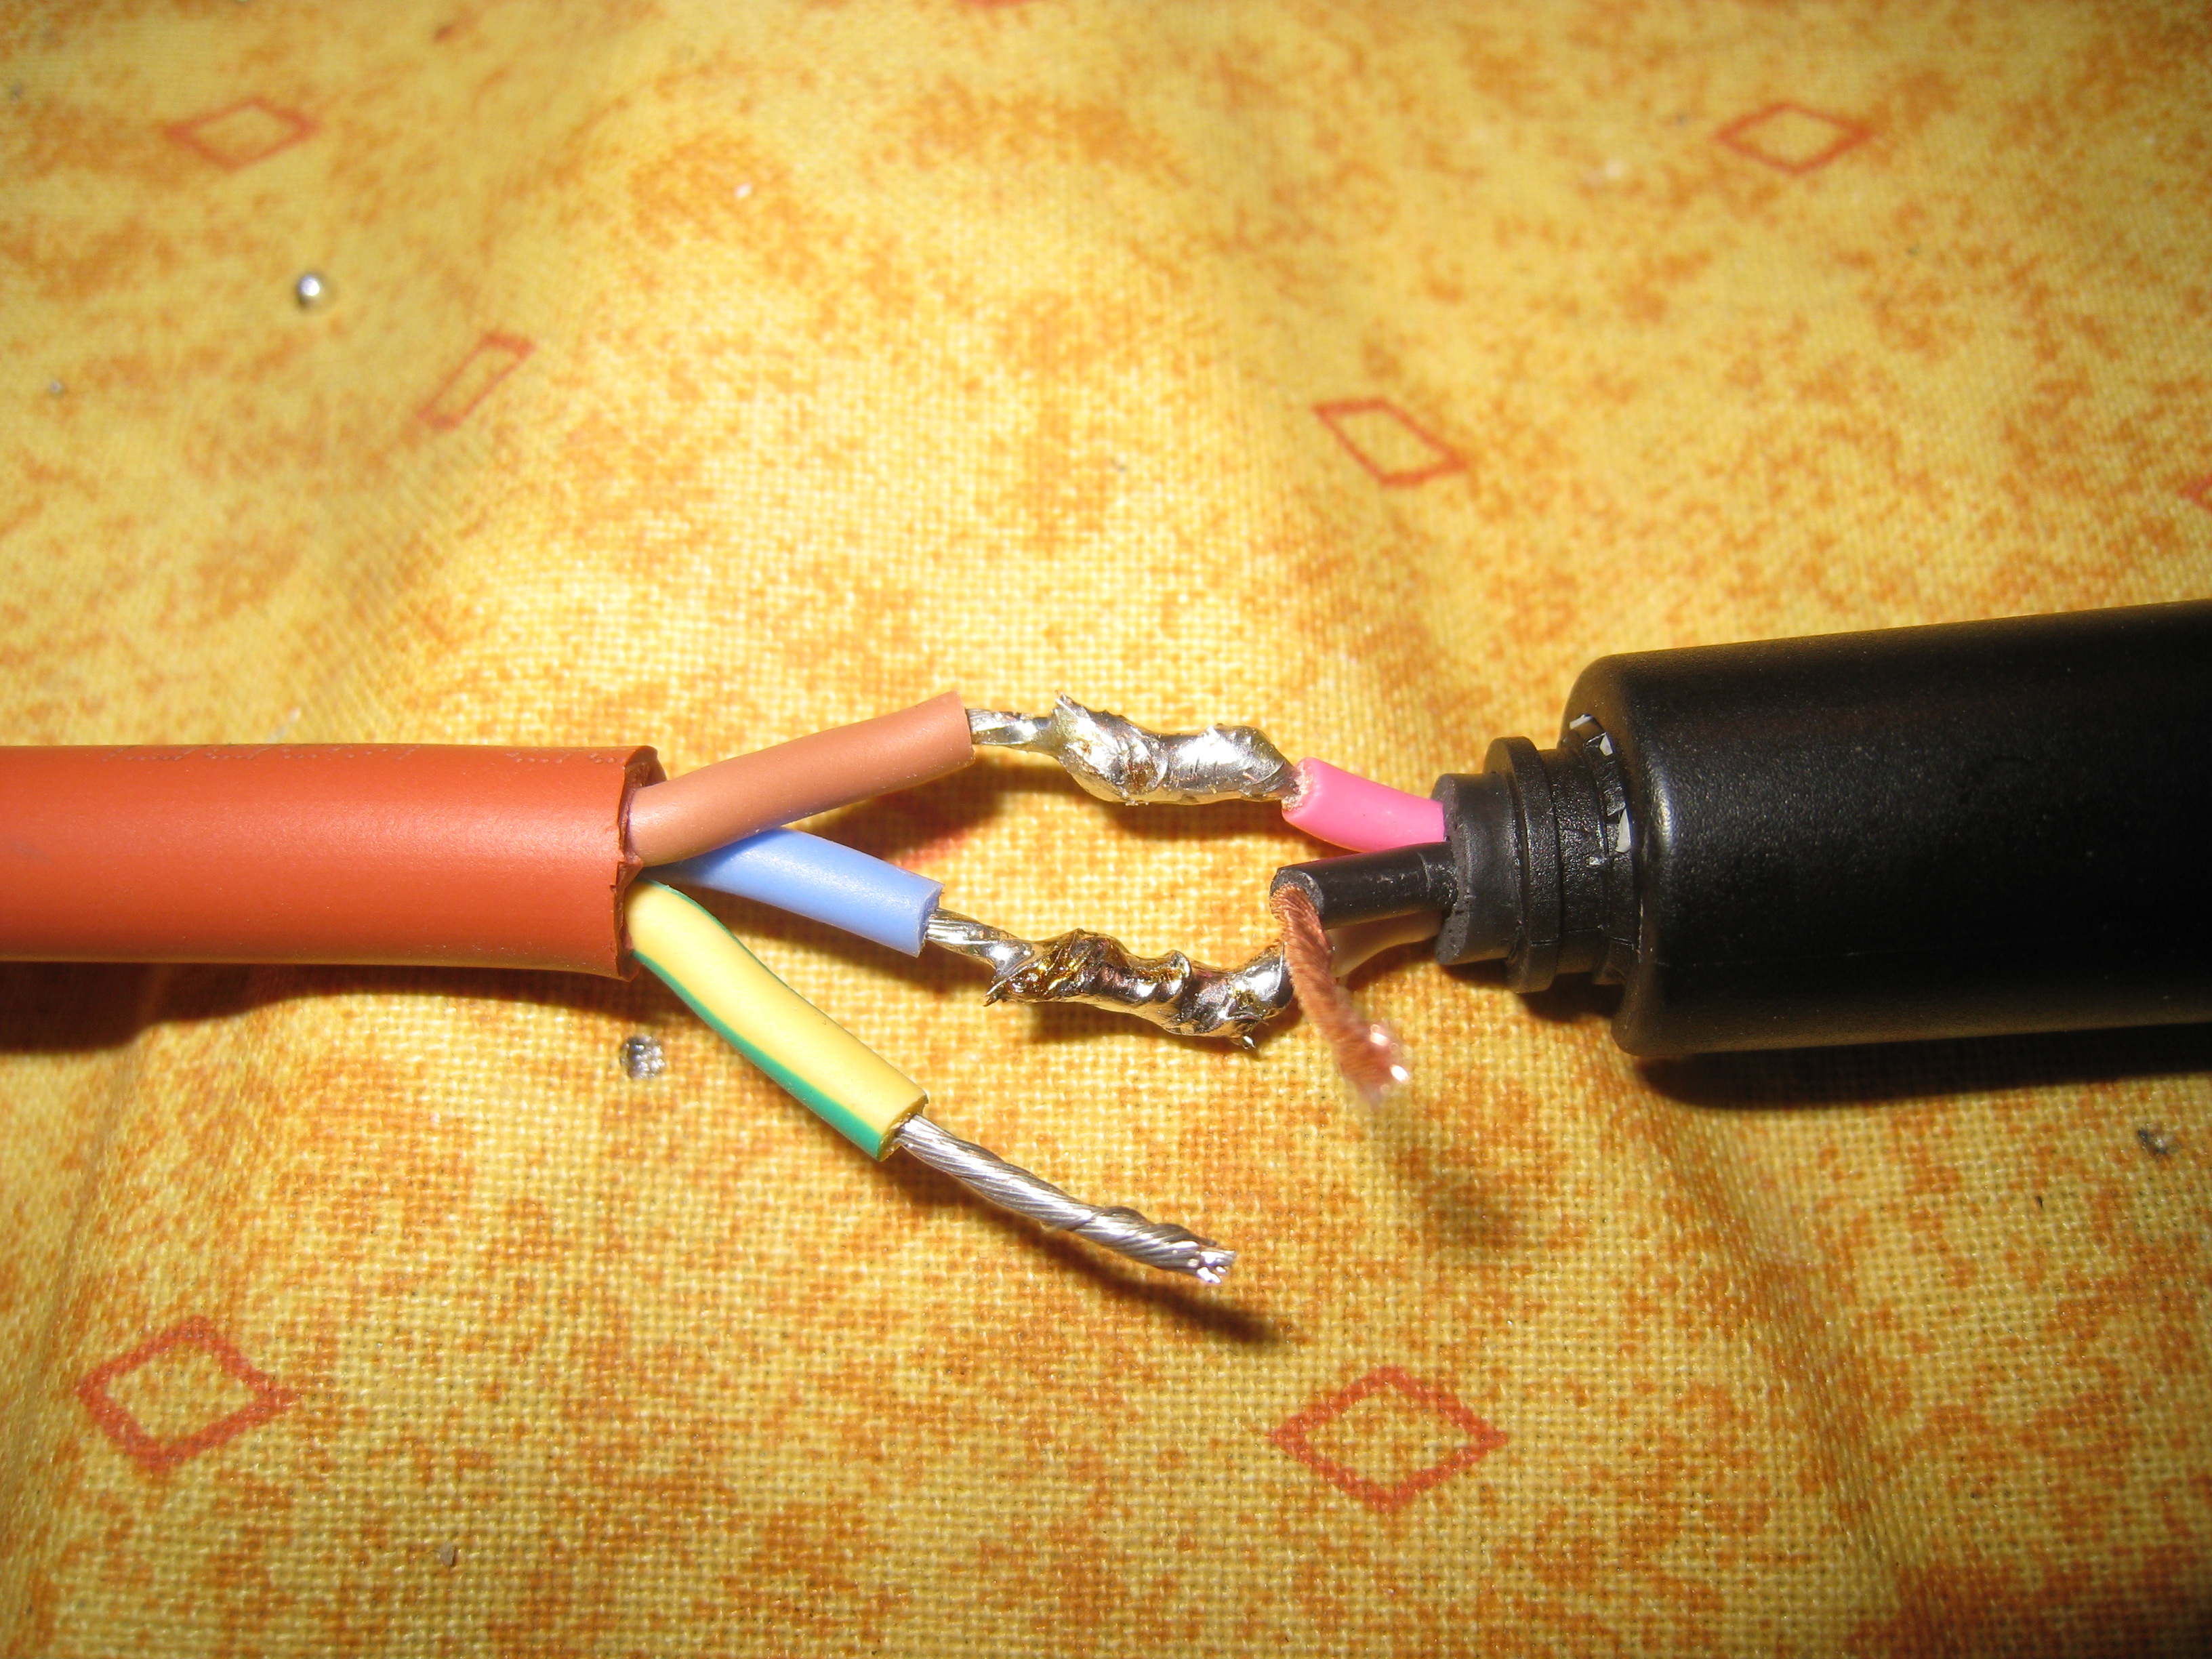
Solder the wires:
We have to insulate the wires and put on the cable protection. Now we have the super ERSA with silicon cable.
Final result: